Countertops in Boise, ID

A plain guide to countertops in Boise, ID, covering preparation, materials, installation, and care in a high desert climate where dry air, mineral-rich water, and wide seasonal temperature swings can affect the results.

What We Cover

Countertops in Boise, ID

Countertops in Boise face dry air, cold winters, and hot summers, and each material reacts to that cycle in its own way. Low humidity pulls moisture out of wood, grout, and sealers faster than coastal installers expect. Daily use adds heat, knife marks, spills, and standing water on top of the climate.

A kitchen near the Boise River Greenbelt and one on the bench above town see the same sky, but the way a surface gets used matters more than the zip code.

Hard Water and Mineral Scale

Many Ada County households notice white mineral scale around sinks and faucets. Hardness varies by water source, so test your own water instead of assuming a result. A simple test kit or a lab report gives a real number to plan around.

Scale shows up fastest on dark, polished, and glossy surfaces. Wiping the deck dry after use slows the buildup on any material.

Stone, Porosity, and Care

Natural stones differ in porosity, and porosity decides how much sealing and care a surface needs. The Idaho State Capitol was built with sandstone quarried from Table Rock, a good reminder that stone from one hillside can behave very differently from stone cut somewhere else. That history says nothing about kitchen use, and sandstone is not a suggestion for a work surface.

No material is best for every home. Match the surface to how the kitchen is cooked in, cleaned, and watered.

Guides

The guides follow the order a homeowner works through: preparing the kitchen, choosing a material for hard water and dry air, what happens between templating and installation, how winter cold and summer heat affect the job, what causes white film and dull spots near the faucet, and how to judge the quality of the work.

Latest Guides

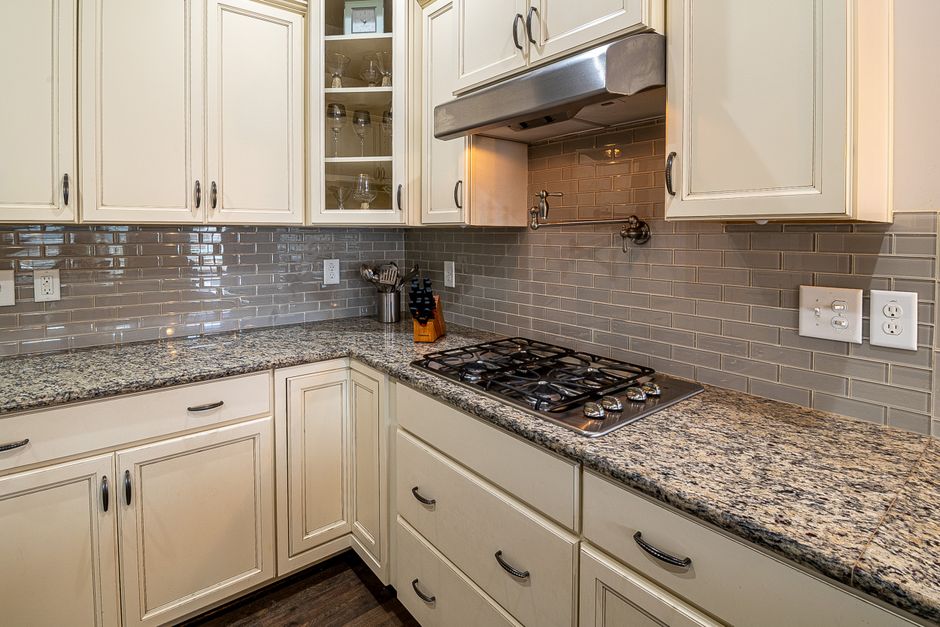
Spacious kitchen featuring granite countertops and stainless steel appliances.

Best Countertop Edge Profile for Everyday Use in Boise

2026-11-07

An eased edge is the best countertop edge profile for most everyday kitchens in Boise. It is nearly square with lightly softened corners, so it wipes clean in one pass, feels fine under a forearm, and has no decorative detail to wear down or chip. Other profiles win in specific spots, and the right choice also depends on the material, the layout, and the water that comes out of the tap.

Why Edges Chip in the First Place
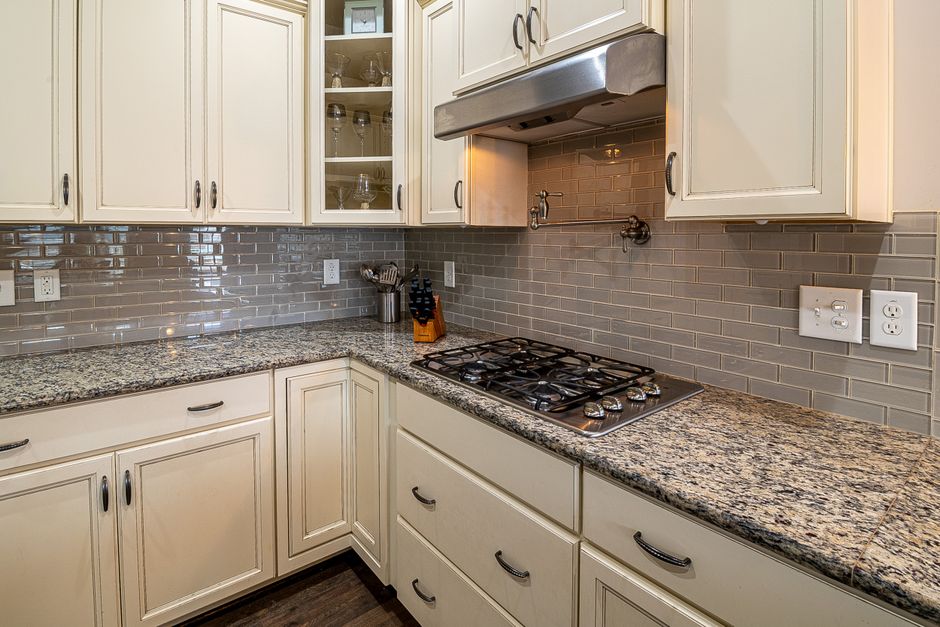
Stylish kitchen featuring granite countertops, stainless steel stove, and modern cabinetry for a sleek design.

Chips usually begin where two faces meet at a sharp angle and take a hard hit from a pan, a stool, or a canned good. The profile decides how much of that impact lands on a vulnerable corner.

That is why a small radius beats a crisp corner almost everywhere. Ask the fabricator for a slight softening on every exposed corner, especially near the sink, the range, and any kitchen island seating where stools and elbows keep arriving. No profile is chip-proof, and a rounded edge only lowers the odds.

Eased Edge: The Practical Baseline
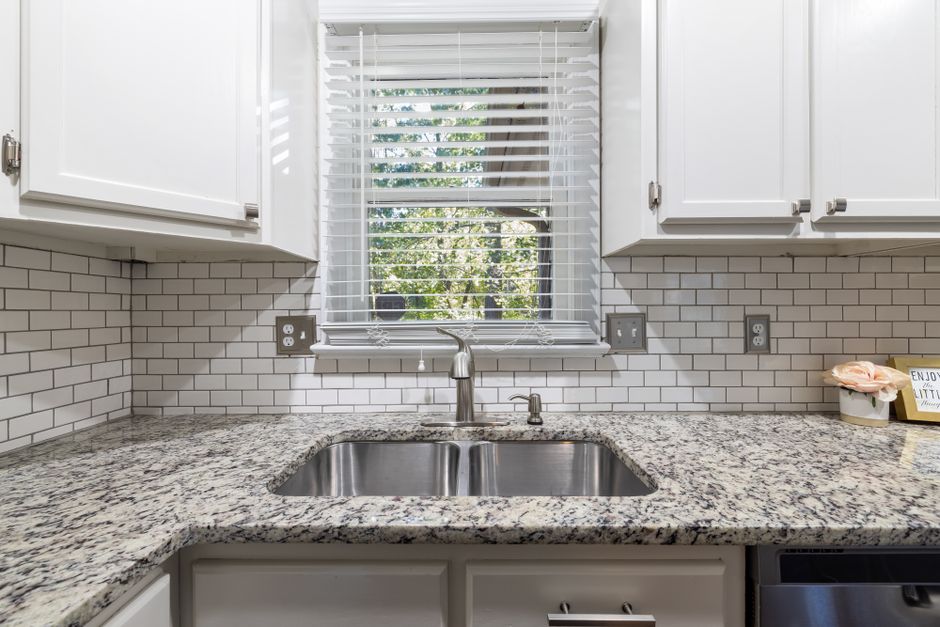
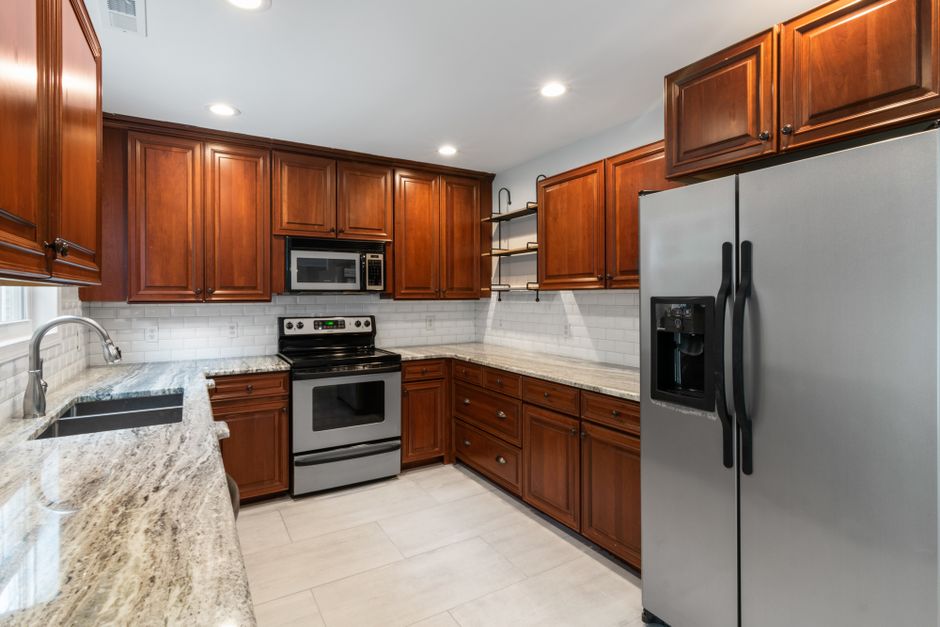
Spacious kitchen showcasing sleek cabinets, granite countertop, and a stainless steel sink.

The eased edge keeps a clean, modern line while removing the razor corner. There are no grooves to trap crumbs and no thin lip to snap off. For a family kitchen where the counter gets used hard every day, it is the profile that asks the least of you.

Beveled Edge: Shallow Angles, More Visible Damage

A bevel replaces one sharp corner with an angled face and two shallower corners. Those gentler corners can shed minor knocks better than a crisp square edge. The trade-off is that a bevel can still chip, and a wide bevel makes any damage easier to spot because the angled face catches light. A modest bevel works well; a deep one is more of a style choice.

Bullnose: Full and Half

Full bullnose

A full bullnose is completely rounded, so there is no sharp corner to catch hips or forearms. It handles many glancing bumps well and feels soft in tight walkways. The catch is underneath: spills can follow the curve and run onto cabinet faces. When wiping, check the kitchen cabinet fronts below the counter, not just the top.

Half bullnose

A half bullnose rounds the top and leaves a lower corner, which gives drips a better place to fall away. It wipes easily and feels soft, with less run-under than the full version. For people who like a round edge but want it to behave, this is often the practical middle ground. A bullnose does not make a counter childproof, though, and it should not be treated as a safety feature.

Ogee and Stepped Edges: Beautiful, but Needy

The S-shaped ogee suits traditional kitchens, but its grooves collect grease and crumbs. Cleaning means pressing a cloth along the whole profile. The thin upper lip can chip, and repairs are harder to blend because the shape has to be rebuilt rather than simply filled.

Dupont and other stepped edges add visual weight with shoulders and steps. Each step is another ledge to clean and another corner to chip. These profiles make more sense on a lightly used bar or a bathroom vanity than beside a main sink or cooktop.

Mitered Edges and Thick-Slab Looks

A mitered edge joins two pieces at an angle to look like a thick slab. It reads as bold and contemporary, but a poorly aligned or sharp miter is more exposed to knocks. Ask for a slightly softened outer corner and inspect the joint closely before sign-off.

Thickness matters here too. Thin slabs often need a built-up edge to carry deeper profiles, which can leave a visible line. Before approving the order, ask where that line will fall and how it will be matched on veined material.

Match the Edge to the Material

The same profile behaves differently depending on what it is cut from.

  • Granite: Generally tolerates both simple and detailed profiles well.
  • Marble and limestone: Softer, so fine details are more prone to dents, wear, and etching. Simple, rounded edges hold up better.
  • Quartzite: Can be hard and still chip at a thin edge, so simpler profiles are often the safer call.
  • Engineered stone: Eased, small-radius, and modest bevel profiles are practical. Chips can often be filled with color-matched resin, though the repair may remain visible on bold patterns or solid dark colors. Brands such as Cambria fall in this category.
  • Solid surface: Materials like Corian and Avonite can be routed into soft profiles, and scratches or small edge damage can often be sanded or repaired. They are softer than stone, so hot pans and sharp impacts remain concerns whatever the edge.
  • Laminate: A square applied edge can show a dark seam line, while a rolled edge avoids that top corner seam.
  • Porcelain: Some patterns do not run through the body, so choose a simple edge and check how a chip would look.

Boise Conditions That Change the Answer

Dry air and butcher block

Dry summers and heated winter air can dry and shrink wood, opening fine cracks at edges and ends. On butcher block, a roundover helps limit splintering. Bare or dry-looking wood should be oiled, often monthly at first and more often during dry spells.

Hard water at the sink

Much of the Treasure Valley has mineral-rich water, so scale can build on sink rims and detailed edges. Dry those areas after heavy use, and favor a simple sink edge that a cloth can fully reach. Be careful with cleaners: vinegar and acidic descalers can etch marble and limestone and may dull some polished surfaces. Use a cleaner rated for the countertop, test it somewhere hidden, and rinse the edge afterward.

Older North End and Bench homes

In some North End and Bench homes, settled floors and aging cabinets may not sit level. A long, crisp edge can make those dips more obvious. Have the cabinets checked and shimmed before templating.

Outdoor kitchens

Strong summer sun and winter freeze-thaw cycles are hard on exposed tops. Choose a material rated for outdoor use and a simple edge with no water-holding ledges. Many resin-based engineered stones are not suited to sun exposure, and a flamed edge can trap grime.

Two Tests to Run Before You Choose

The comfort test

Rest your forearms on a full-size sample and lean in the way you would while chopping or sitting at an island. Sharp profiles can feel uncomfortable over long use, and rounded outside corners are kinder at hip height in tight walkways.

The cleaning test

Wipe a sample with a damp cloth and a little oil or flour paste. If residue stays in the profile after one or two passes, expect the same result along the edge near the cooktop and prep area.

Check Clearances Before Cutting

Thick aprons and drop edges can interfere with dishwasher doors, top drawers, slide-in ranges, or a kitchen appliance lift. Have the fabricator confirm the finished edge depth against the appliance specifications and cabinet openings before anything is cut.

After Installation

Check that the profile and polish are consistent, particularly at seams and corners. If a chip happens, save the fragment, since it can help the repair. For sealed natural stone, a water test about once a year, including edges near the sink, shows whether the sealer is still working. Sealing does not make an edge more resistant to chips, and repairs are not always invisible.

A Safety Note on Reshaping Stone

Changing the profile of stone or engineered stone on site can release respirable crystalline silica, made of silicon dioxide, which can cause silicosis. Do not dry-grind an edge yourself. Ask the fabricator to explain its wet-cutting, dust-capture, and respiratory protection methods.

The Short Answer by Situation

  • Busy family kitchen: Eased or small-radius edge.
  • Island with seating: Half bullnose or generous eased radius.
  • Traditional look: Ogee, kept away from heavy-use zones.
  • Bar or vanity: Stepped edges are acceptable where use is light.
  • Statement modern look: Mitered edge with a softened outer corner.

No single profile is best for every material, kitchen, and household. For daily use in Boise, start with the simplest rounded option, then add style only where the countertop will not take much abuse.
Read more →

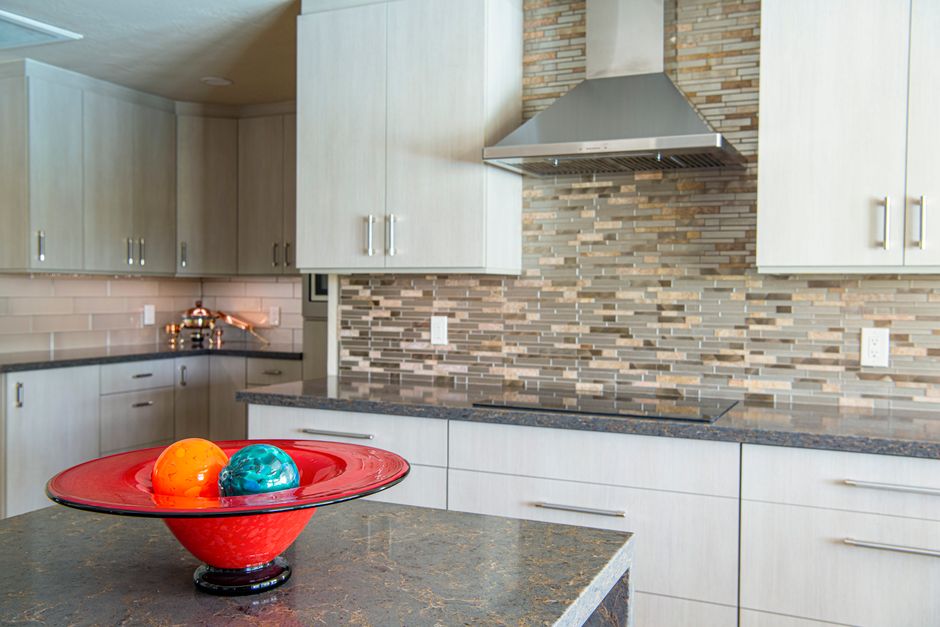
Sleek kitchen design featuring a red bowl with decorative accents.

Countertop Overlay in Boise: Can New Tops Go Over Old Ones?

2026-11-07

New countertops can be installed over existing ones, but only when the old top is flat, solid, dry, and firmly attached, and when the added height does not disturb the sink, faucet, dishwasher, range, or anything on the wall above. An overlay hides what lies beneath it. It does not repair it. For a Boise homeowner, the real question is less "can it be done" and more "does this particular kitchen pass the checks."

Start With the Condition of the Old Top

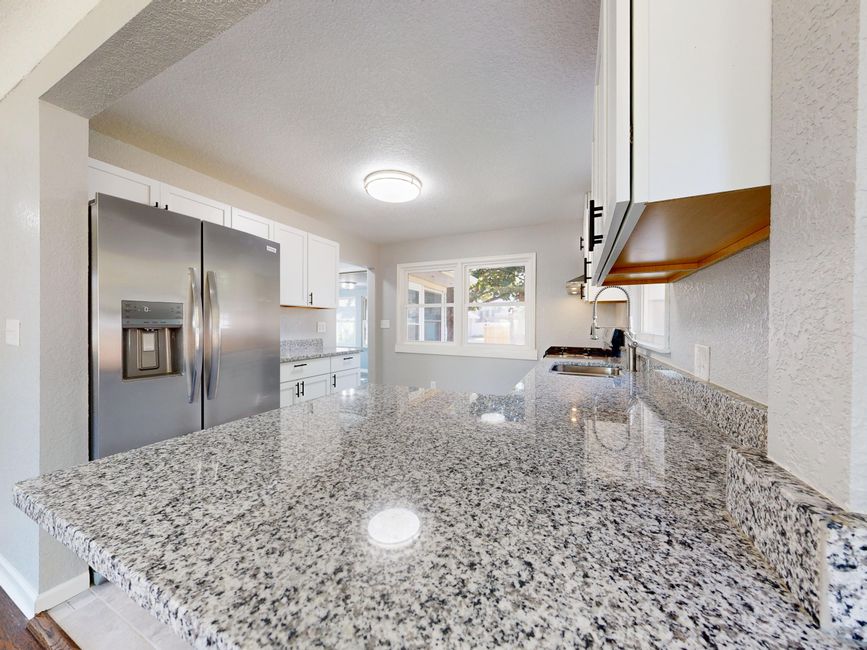
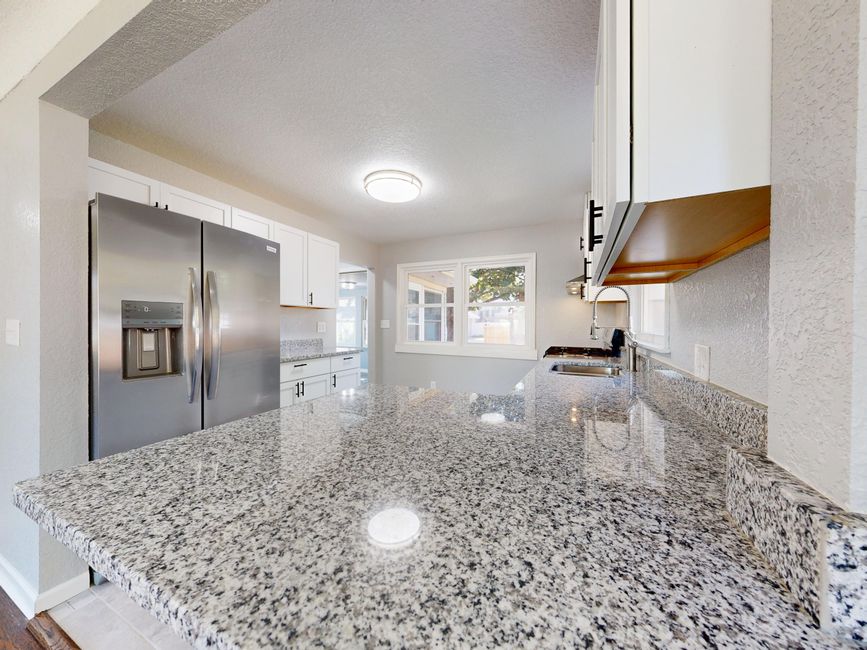
Spacious kitchen featuring granite countertops and stainless steel appliances.

The existing countertop becomes the foundation for the new one, so its condition decides everything else.

Check flatness with a straightedge

Lay a 4 foot straightedge across the top in several directions: along the length, across the depth, and diagonally. Look for gaps, humps, or dips. Rigid materials such as stone can crack when they rest on uneven support, so any variation needs to be corrected by the installer or the old top should come out.

Look from below with a flashlight

Open the sink base and nearby cabinets and shine a light up at the underside of the deck. Dark stains, swollen particleboard, soft spots, or mold usually point to a past or ongoing leak. In that case the leak has to be found and at least the damaged section removed. A new surface laid over wet substrate only hides the problem while it keeps growing.

Press on laminate and check its edges

Laminate that has lifting edges, bubbles, or a spongy feel suggests a failed bond or a wet core. Adhesive cannot hold a new top securely to a surface that is already letting go.

Which Existing Tops Are Easiest to Cover

Stylish kitchen featuring granite countertops, stainless steel stove, and modern cabinetry for a sleek design.

Flat laminate and solid surface tops, including products such as Corian and Avonite, are often the simplest to cover because they present a smooth, continuous face. Profile matters as much as material. A molded backsplash or a raised front edge usually has to be cut away or removed, because the new top cannot sit flat over it.

Tile is trickier. It can be overlaid only if it is tightly bonded and the surface can be made flat. Cracked or loose tile, failing grout, and uneven grout lines all weaken support. Tile also tends to raise the finished height more than people expect.

Add Up the Height Before Ordering

Every layer counts: the old top, the adhesive or setting layer, and the new material. Thin overlay products are commonly about 1/4 to 3/4 inch thick, while a 3 cm stone slab adds about 1 1/4 inches. Use the real thickness of the chosen product plus the adhesive layer, then compare the finished height with the usual counter height of about 36 inches.

A small increase can ripple upward. Measure to window sills, backsplash tile, outlets, switches, and upper cabinets. An extra inch can bury a tile course, crowd an outlet cover, or leave an awkward gap at the old backsplash line.

Weight and Cabinet Support

Stone and engineered stone, including brands such as Cambria, are heavy. A full 3 cm slab can add roughly 18 to 20 pounds per square foot on top of the weight already there. Before committing, check the kitchen cabinet boxes for racking, look for sagging spans, test the particleboard for weakness, and confirm the cabinets are secured to the wall.

Level the run first

Older Boise homes, including some in the North End, may have settled floors and wavy plaster walls. Those conditions can leave a cabinet run out of level or create uneven wall gaps. Check level before templating, and shim or correct the base so the new top is not forced to follow an old problem.

Overhangs still need support

A thicker top does not make an overhang self supporting. A kitchen island with seating, or any extended overhang, needs brackets or other support suited to the material and the depth of the overhang.

Sink Fit Changes With the Sink Type

Drop in sinks

The new top may bury or interfere with the old rim, so the sink often has to come out. Check that its mounting clips can grip the combined deck thickness, or plan to replace them.

Undermount sinks

The cutout in the old and new layers has to line up cleanly, with a solid way to support the sink and a watertight seal. If the old top is hiding corrosion or leaks around the sink, that is a reason to remove it rather than cover it.

Farmhouse sinks

Their exposed front and the way they sit against the deck leave little room for an added layer. The sink or cabinet may need rework, which can make full removal the more practical route.

Faucet and Deck Hardware

Compare the combined deck thickness with the faucet's maximum mounting thickness before anything is ordered. Soap dispensers, filter faucets, air switches, and other deck mounted parts may need longer hardware or outright replacement.

Appliance Clearances

Dishwasher

Added height can leave the top mounting brackets short of their original attachment point. Check whether the dishwasher can be secured at its sides or by another method approved by its manufacturer, and make sure it can still be pulled out for service.

Range

A slide in range may need to be raised to sit properly against the new surface, but its leveling legs have limited travel. Confirm the range stays stable, and read the manual for the minimum clearance to any hood or microwave above.

Cooktop

A drop in cooktop needs the correct cutout and enough room for its clips and connections. The appliance manual may limit counter thickness or specify clearances, so the old cutout should not be trusted as is.

Boise Conditions Worth Planning Around

Hard water

Much of the Boise area has hard water, which leaves scale around faucets and sink joints. Seal exposed edges and sink joints well, keep them clean, and inspect for failed sealant. Water that gets in at these points can stay hidden between layers.

Dry winters and butcher block

Boise's dry winters and seasonal humidity swings make butcher block shrink and expand. Do not glue it rigidly over an old top. Finish all sides and use fasteners that allow the wood to move.

Winter installation

Adhesives and materials kept in a cold garage or truck may not perform as intended. Follow the manufacturer's temperature and acclimation instructions, and keep the kitchen within the specified range while the adhesive cures.

Safety Before Anyone Cuts Anything

Cutting, grinding, or polishing engineered stone can release respirable crystalline silica, the form of silicon dioxide linked to silicosis. Natural stone can contain silica too. Leave on site modifications to a qualified crew that uses wet methods or dust collection and proper respiratory protection. Cutting outside does not make the dust harmless.

In older homes, some adhesives, backing materials, and nearby finishes may contain asbestos, and older paint may contain lead. If the top, backsplash, or surrounding materials may be original, or their age is unknown, test before cutting or removing anything.

Signs the Old Top Should Come Off

Removal is the better call when any of these show up:

  • Dark stains, swollen particleboard, soft spots, or mold under the sink or along the deck
  • Laminate that lifts, bubbles, or feels spongy
  • Loose or cracked tile, or grout that is crumbling
  • A surface that cannot be made flat
  • Corrosion or leaks around the sink
  • Cabinets that are racked, sagging, or not secured to the wall
  • A farmhouse sink or a tight appliance fit with no room for added thickness
  • Unknown materials in an older home that have not been tested

An overlay is not automatically cheaper, faster, or better than removal. In some kitchens it is a reasonable choice, and in others it only postpones a bigger repair.

Get the Method Confirmed in Writing

Ask both the material manufacturer and the installer whether the warranty covers the specific old surface, adhesive, and support in the kitchen. Have the installer list any repairs required first, and who will handle the sink, faucet, and appliance changes. Written confirmation settles those questions before the new top goes on rather than after.

Read more →